Legmethoden houten vloerdelen
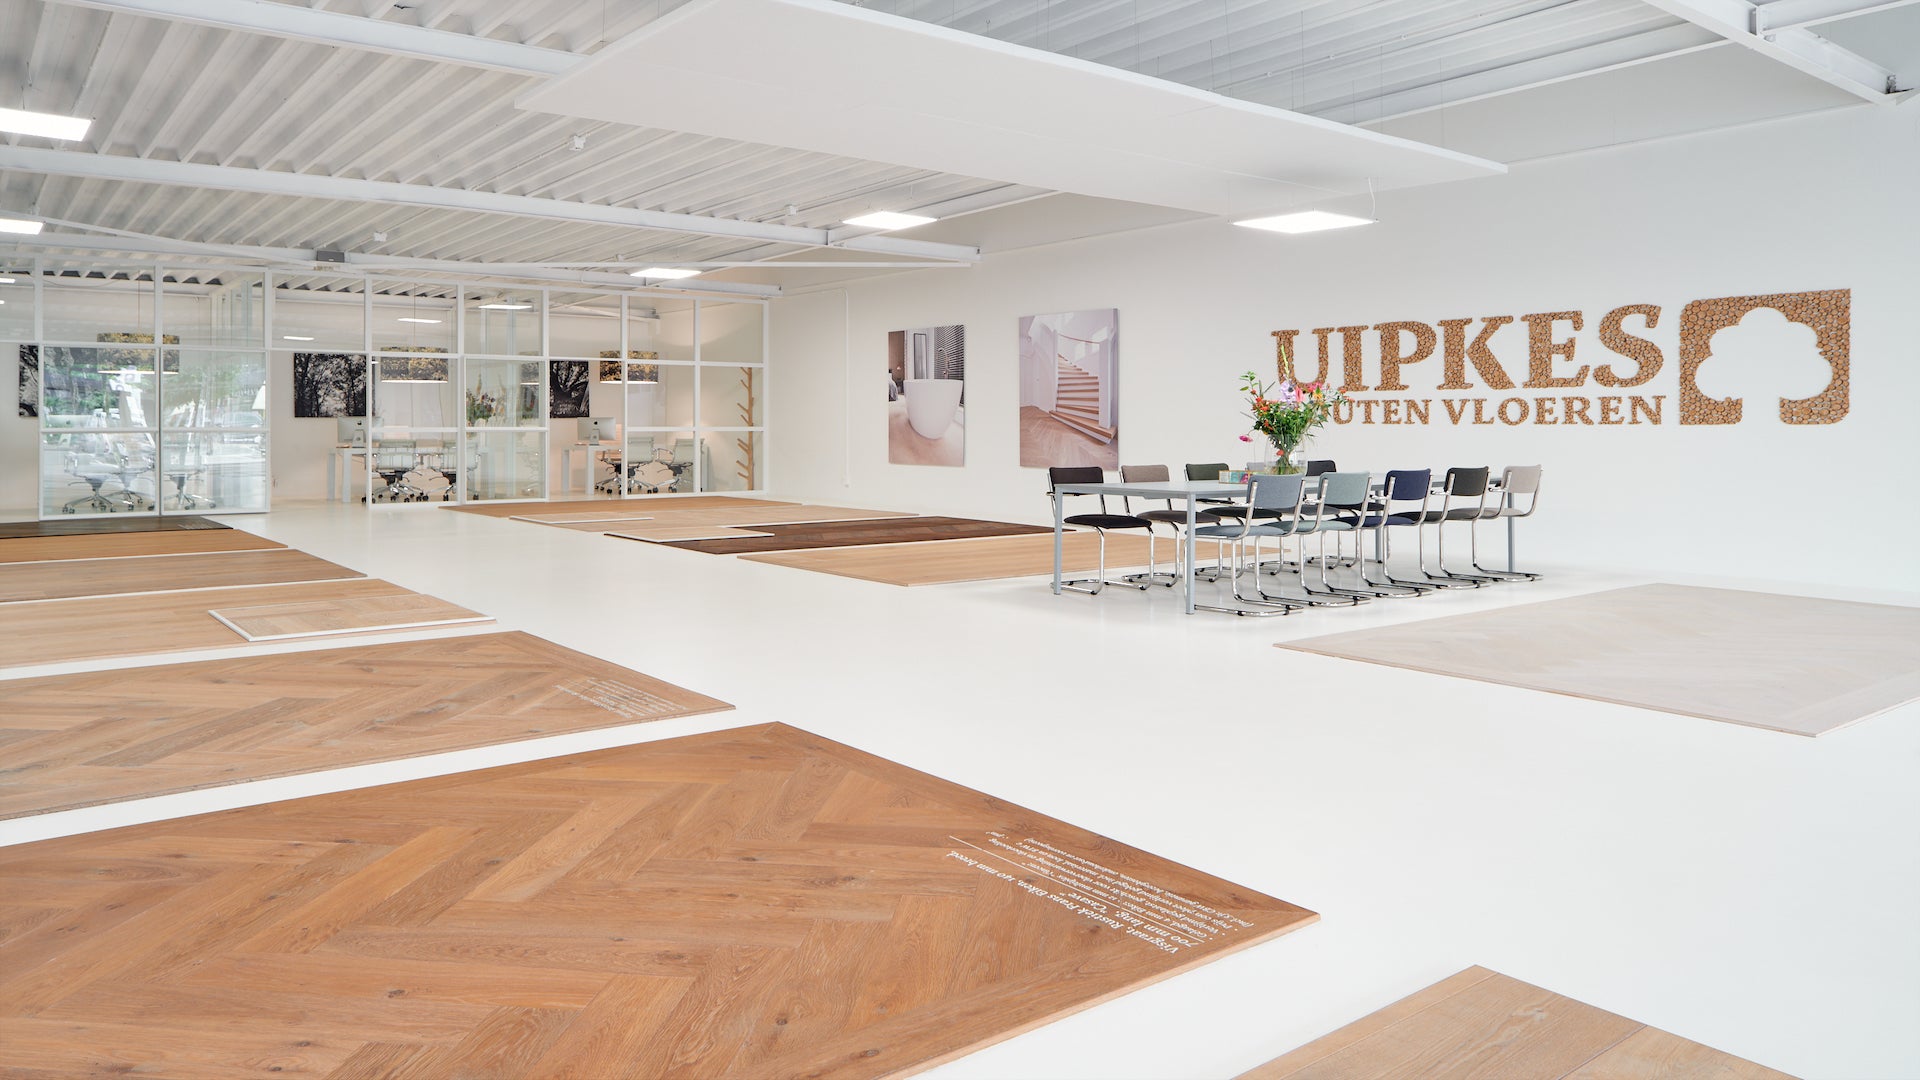
Bezoek de showroom
Installation Methods
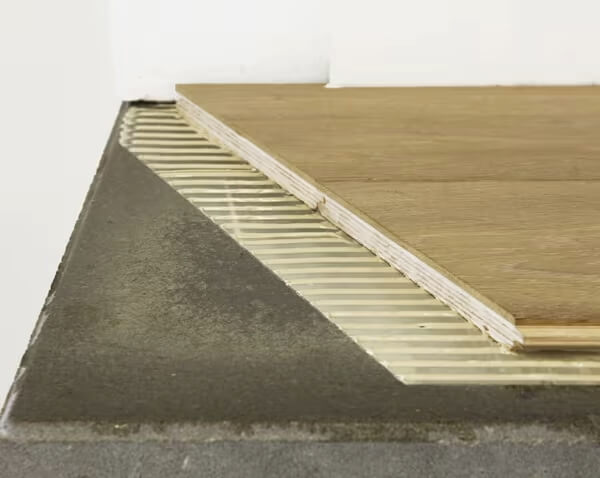
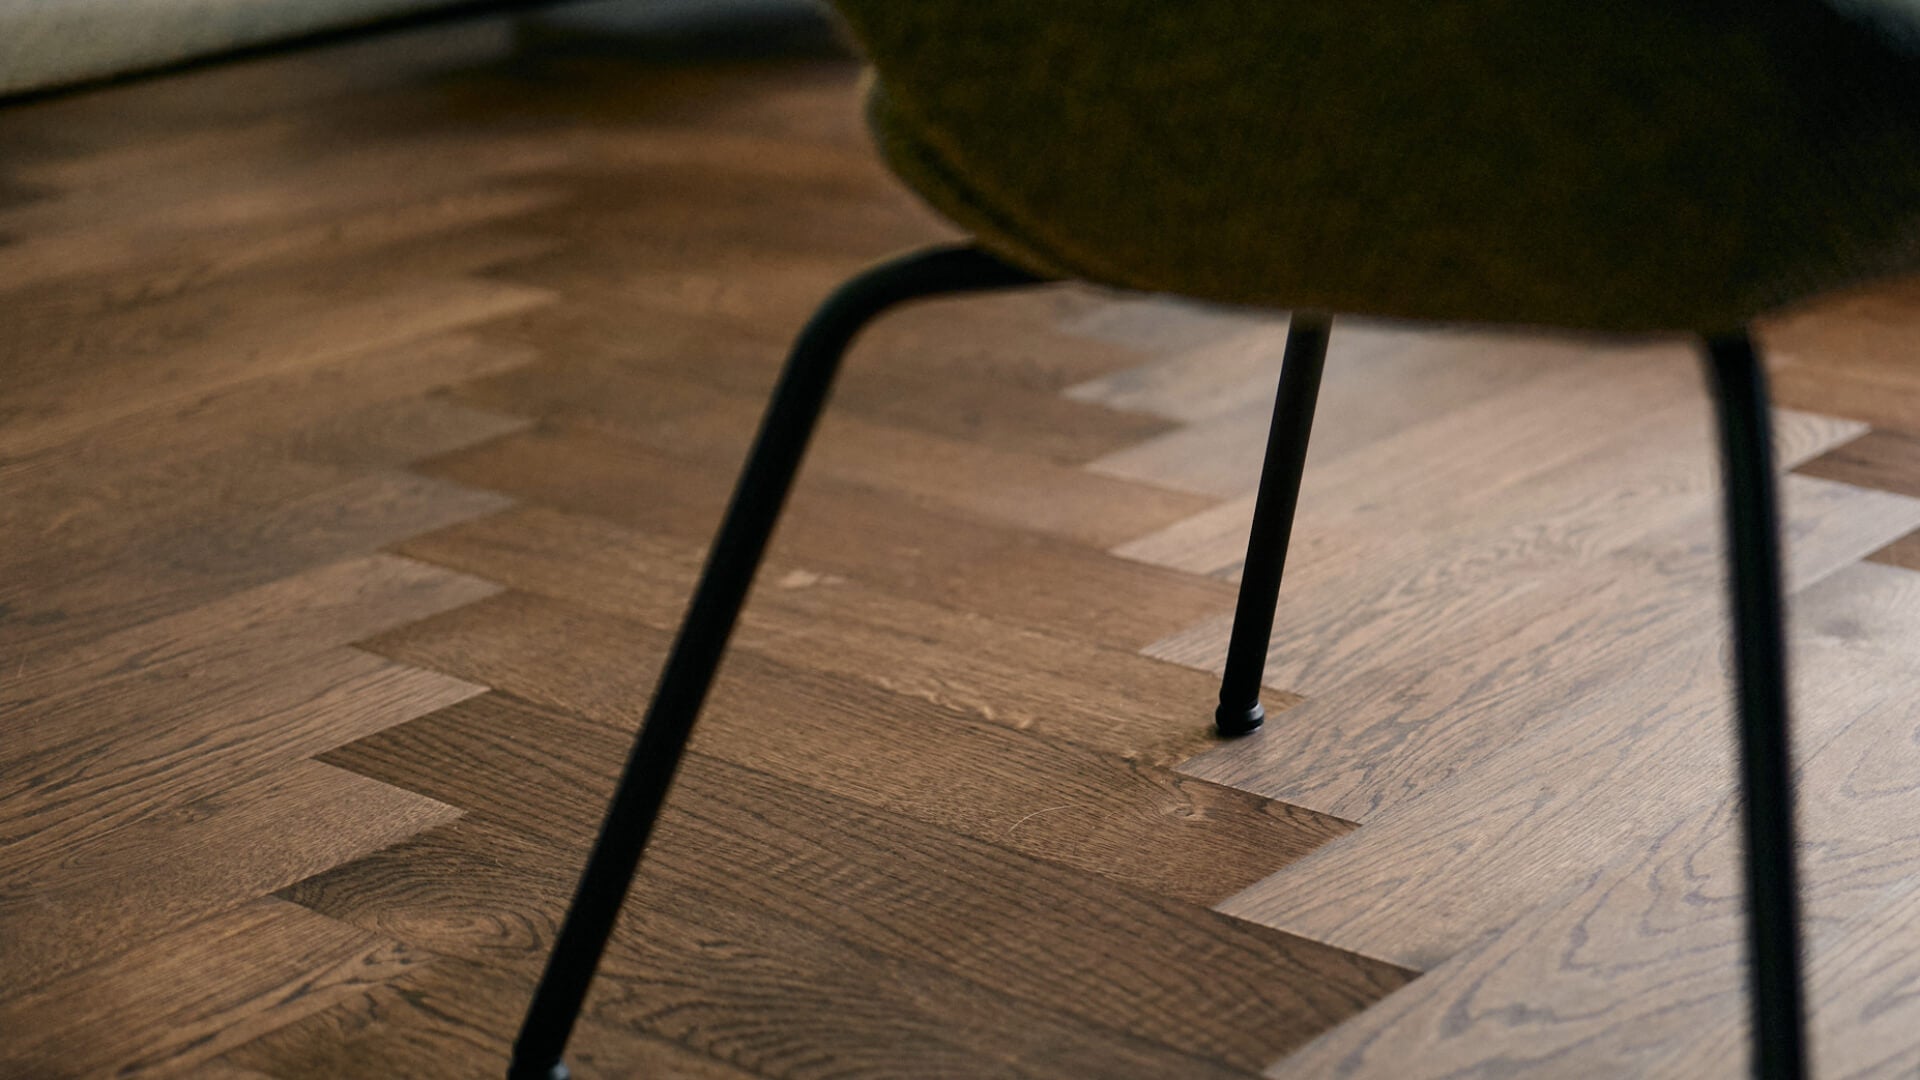
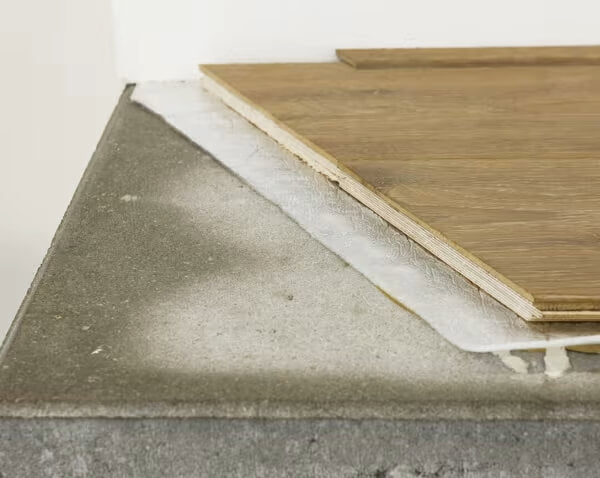
Directly glued
The engineered wood floor is glued directly to the epoxy moisture shield.
The engineered wood floor is glued directly to the epoxy moisture shield.